
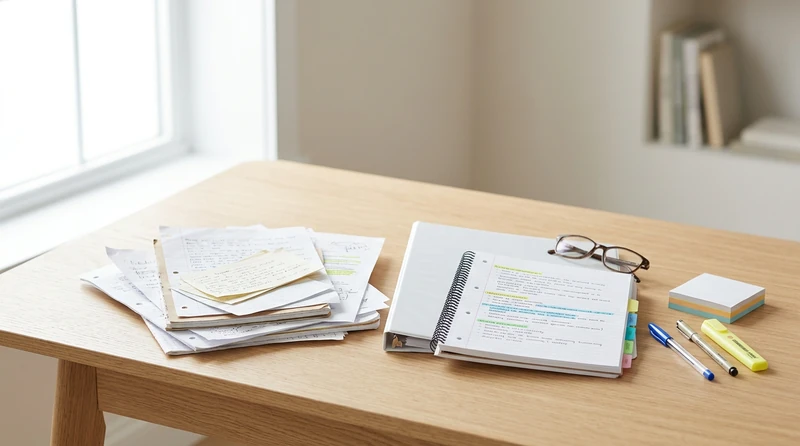
You sat through every lecture, wrote things down, kept up (mostly) — and now finals are two weeks out and your notes look like three different people took them in three different courses. That is the normal semester experience, not a personal failure. This guide covers how to gather scattered sources, sort by what actually matters, condense without losing substance, and study effectively from the result.
Step One: Gather Every Source Before You Write Anything
Most study guides fail before the studying starts because they are built on incomplete material. Spend fifteen minutes pulling everything together: handwritten notes, typed notes, lecture slides, textbook highlights, graded quizzes, and homework with instructor feedback. Do not filter yet — just collect.
Create a Single Raw Archive
If your notes span paper and digital, photograph the handwritten ones and drop them into a single folder labeled with the course name. That folder is your raw archive; the study guide you are about to build is a separate, curated document — not a copy of everything you have. Once the archive exists, open the syllabus and use its list of topics or learning objectives as your organizing map. Every section of your study guide should correspond to a syllabus topic, not a lecture date. If your professor posted a review sheet or flagged specific themes, treat those as the highest priority items in the guide.
Step Two: Prioritize by Exam Weight
Not all content deserves equal space. Allocating page space based on what is most likely to appear on the exam is the single biggest leverage point in this process.
Look for Repeated Coverage
If a concept appeared in a lecture, a required reading, and a graded assignment, it is high priority. The more times a topic shows up across different course materials, the more likely the professor considers it essential. Flag those topics before you touch your study guide document.
Read Your Graded Work for Signal
Returned quizzes and midterms are a direct window into how your professor tests. Look at what was wrong, but also look at how the questions were framed — scenario-based, definition-based, or analysis-based. A course that tested applied reasoning on the midterm will almost certainly do the same on the final. Weight your guide accordingly: a high-priority concept might get half a page with examples and self-test questions; a lower-priority topic might get four bullet points.

Step Three: Organize by Topic, Not by Date
Chronological notes mirror how the semester unfolded, which is rarely how an exam is structured. Reorganizing by topic is the step that turns a pile of source material into a usable study guide.
Build a Skeleton First
Create a new document — digital is easier to rearrange — and list your high-priority topics as headings. Under each heading, add sub-concepts as bullet points. Do this before you paste in any content. A skeleton gives you a container for every piece of information you encounter as you sort through your raw archive.
Sort Ruthlessly, Not Comprehensively
As you move through each source, assign each piece of information to the topic it belongs to. If something does not fit any heading, ask whether it will appear on the exam. If not, leave it in the archive. Your study guide is a curated document, not a transcript of the semester. Give each section the same internal structure: a short definition or summary at the top, key terms as a bulleted list, one brief example, and a blank prompt for self-testing.
Step Four: Condense Without Losing What Matters
The goal is to reduce your raw notes to roughly one-third of their original length while keeping every high-priority concept intact.
Rewrite Definitions in Your Own Words
If you can only copy a definition from a slide, you do not yet understand the concept. Rewriting forces comprehension and surfaces gaps — both useful. A definition you have genuinely processed takes up less space and sticks better than copied text.
Long worked examples can be reduced to the key steps and the underlying rule they demonstrate. You do not need four pages of practice problems inside the guide — you need to internalize the method. Leave room for one brief reference example per topic, then plan to do additional practice separately.
As you condense, mark unclear items with a consistent symbol — a star, a question mark — as you go. Those flagged spots become your shortlist for office hours or a targeted textbook re-read before the exam.
Step Five: Study From It Actively
A study guide you read passively is just a neater version of your original notes. The document only becomes useful when you interact with it.
Cover and Recall First
Work through each section by covering your notes and retrieving key points from memory before looking. Active retrieval moves material into long-term memory more effectively than rereading — and it immediately tells you which sections need more work.
Space Your Review Sessions
One marathon session the night before the exam produces far worse results than three or four shorter sessions spread across the days before it. Review different sections in each session, return to flagged items each time, and keep testing yourself rather than rereading. Building a study guide from scratch is only half the work; the spaced review sessions are where the learning locks in.
Getting More Structure Into Your Approach
If the condensing and review process still feels uneven, pairing this approach with a stronger note-taking method can help. The article on note-taking methods covers formats — including Cornell notes and concept mapping — that arrive pre-organized and make end-of-semester consolidation faster.
For managing the full exam timeline across multiple subjects, the guide on planning for cumulative finals offers a week-by-week framework that works alongside any study guide you build.
Conclusion
Building a study guide from a messy semester of notes is not about perfect organization — it is about converting raw material into something you can actually learn from under time pressure. Gathering sources, prioritizing by exam weight, organizing by topic, and condensing into your own words is itself a form of studying. By the time the guide is finished, you have already processed the material once. The review sessions that follow will feel like retrieval, not a first encounter — and that is what moves the needle on exam day.
Frequently Asked Questions
How long should a study guide be for a final exam?
A useful benchmark is one to two pages per major topic, with the total guide fitting into a review session of two to three hours. If it is longer than you can realistically review twice before the exam, it is too long — condense further or tier the content by priority.
Is it better to make a study guide by hand or digitally?
Digital is easier to rearrange and search, but handwriting your condensed notes during the drafting phase improves retention because it forces slower processing. A reasonable middle ground: draft your condensed notes by hand, then organize the final guide digitally.
How do you build a study guide from scratch when your notes are incomplete?
Start with what you have, then fill gaps using lecture slides, the textbook index, and classmates' notes. Your syllabus defines the scope — anything listed there that you cannot find in your notes is a gap worth closing before the exam.
What is the most common mistake students make when creating a study guide?
Copying information directly from slides or notes without processing it. A study guide built from copied text requires you to re-learn the material during review rather than retrieving something you already internalized. Write definitions and explanations in your own words from the start.
How early before an exam should you start building your study guide?
At least seven to ten days out. The guide itself takes time to build, and you need additional days to study from it across spaced sessions — not one cramming pass from a finished document the night before.
Share this article



Comments 0
No comments yet — be the first.
Leave a comment
Your email will not be published. All fields are required.